Your Modern House Numbers mailbox decals have arrived! They’re ready to add that clean, modern touch to your curb appeal. Whether you’re giving your current mailbox a quick refresh or starting from scratch, installation is simple, quick, and totally DIY-friendly.
The best part? You don’t need any special tools or experience. With a little prep and a few simple steps, you’ll have crisp, modern decals that look like they were professionally installed. Let’s begin!
What’s in the Package
Every Modern House Numbers decal order is carefully packed to make installation simple and stress-free. Inside, you’ll find:
-
Your Custom Mailbox Decals: Precision-cut from durable, high-quality vinyl. They’re weather-resistant, UV-protected, and look fantastic on any smooth surface.
-
Installation Instructions: A printed guide with everything you need to know.
Pro Tips:
-
Order an Extra Set: If you’re installing decals on both sides of your mailbox, we recommend ordering two identical sets for a balanced, finished look.
-
Don’t Forget the Front! Complete your look by adding 1-inch numbers or letters to the front of your mailbox.
-
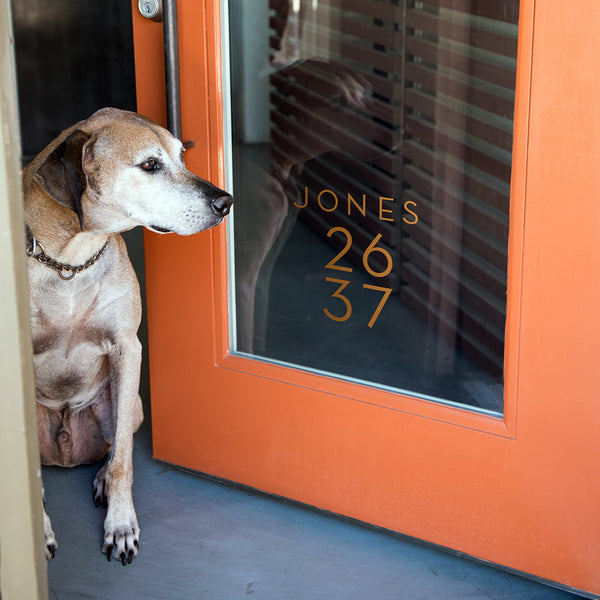
Decals aren’t just for mailboxes! They also look great on glass doors, pencil cases, as household labels or other smooth surfaces.
Gear Up Before You Start: A Handy Checklist
Before you begin, take a moment to gather a few items to make installation simple and smooth.

You’ll need:
-
Tape: Painter’s tape works best because it’s easy to reposition and won’t leave residue.
-
A ruler or level: To ensure your decals are perfectly straight.
-
A burnishing tool (or the edge of a credit card): For pressing your decals firmly and evenly into place.
Installation Tip: Apply your decals only to clean, smooth, and dry surfaces. Decals will not stick to rough textures, or in wet or freezing conditions.
Step-by-Step Installation Guide
1. Prepare the Surface
Start with a clean, dry surface. Use mild soap and water or rubbing alcohol to remove any dust, dirt, or oils on your installation surface. Allow it to dry completely before continuing.
Once clean, use your tape and ruler to create a guideline for your decal placement. Align the bottom edge of your decals with the tape to keep everything even, this ensures a perfectly straight and even layout.

Pro Tip: Step back and look at your guideline from a few angles to double-check that everything looks level before you begin applying the decals.
2. Position & Peel
Mailbox Decal Layer Diagram

Now for the fun part! Carefully peel the backing paper away from the decal, making sure the vinyl letters or numbers remain stuck to the front transfer tape.
 If any of the decals stay on the backing instead of the transfer film, just lay it back down and use your burnishing tool to firmly press the letters or numbers back onto the film.
Then, align the decal with your tape guide, holding it just above the surface until you’re confident in the placement. Once it looks perfect, press the decal onto your mailbox.
3. Apply the Decals
 Press the decal onto your mailbox (they will still be on the front transfer film). Start from one side and smooth it outward to remove any air bubbles. Use firm, even pressure across the entire surface with your burnishing tool.
Apply even pressure across the entire decal, paying special attention to the edges and corners.
 Pro Tip: Take your time! Slow, even strokes make a big difference and help create a clean, professional finish look.
4. Remove the Transfer Film
 Once the decal is firmly in place, slowly peel away the front transfer film. Peal front transfer film from top right corner to left bottom corner in a diagonal manner. If parts of the decal start to lift, lightly burnish or rub that area again before continuing to remove the film.
After the transfer film is removed, take off your alignment tape guide. If you’re installing decals on both sides or the front of your mailbox, simply repeat steps 1–4 for each set.
Pro Tip: Give your decals 24 hours to fully cure before washing or polishing the surface. This helps the adhesive bond completely.
Final Touches
That’s it! Your new mailbox decals are officially installed and look amazing! In just a few minutes, you’ve created a fresh, modern upgrade to your curb appeal.

Pro Tip: Want to keep your decals looking their best? Wipe them gently with a soft cloth and mild soap every 4-6 months when cleaning your mailbox, no harsh chemicals.
Want a Handy Printable Guide?
Download and print our easy-to-follow decal installation PDFs below:
Got questions or hit a snag during install? Our friendly support team is here to help!
 Ready to get started? Grab your decals and let’s install!