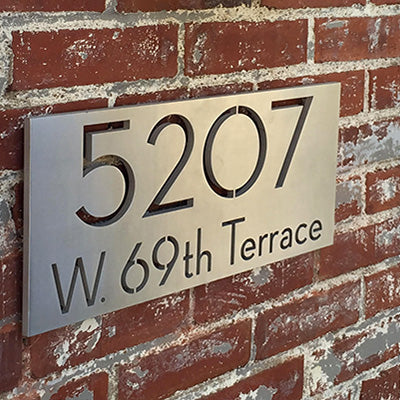
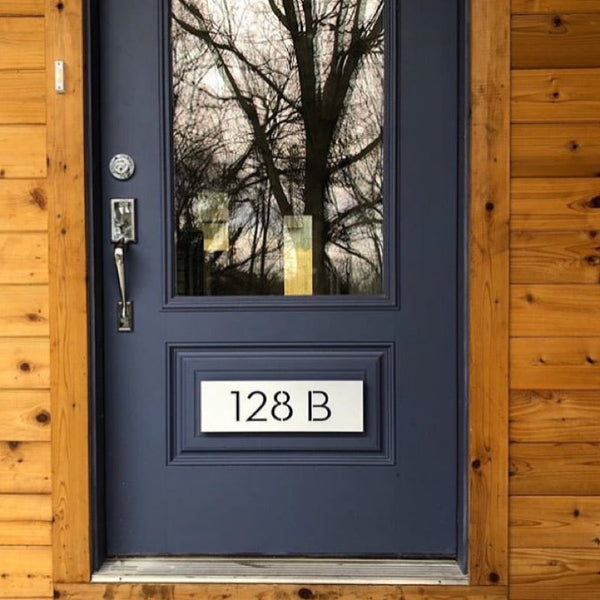
If you want to add personality and curb appeal to your home, one way to do so is by adding clean, contemporary house numbers to your home's exterior. If you have an all-brick or masonry home, 6-inch aluminum or black metal house numbers will look gorgeous, especially if you pick a great installation location and create contrast.

12in numbers from Modern House Numbers
Drilling into masonry or stone to mount your new address numbers can be challenging. Luckily, with the right tools and techniques, it can be simple. For results you will be proud of, here is a seven-step guide.
Tools and Materials Needed- House numbers
- Drilling template
- Pencil
- Painter's tape
- Measuring tape
- Specialty drill bit
- Hammer drill
- Installation Hardware
- Rubber Mallet
- Soft Cloth
1. Use a Hammer Drill and Choose the Right Drill Bit
When drilling into brick or masonry, it's essential to use a drill bit designed to drill into hard surfaces like stone, brick, and or concrete. These bits are designed to handle the hardness of the material and will make the drilling process much more manageable. Be sure to choose a bit that is the appropriate size.
We suggest a hammer drill with a 3/16in drill bit for masonry and stone.
2. Use the Hardware Correctly
When installing your house numbers, use the included hardware and an appropriate adhesive to ensure that they stay securely in place.

Example of properly installed number with concealed hardware.
Follow the instructions to be sure you get a tight fit to achieve a secure hold.
Anchors much be fully concealed and protected from contact with moisture.
With concealed hardware, the stud should be fully concealed from the elements. The spacer should slide over the stud, and the stud should be fully and securely inserted into the back of the number, and into the installation surface. No part of the stud should be visible.
3. Decide on the Location and Mark the Drill Holes
Before you start drilling, decide where you want to install the house numbers. Use a level to ensure that the numbers will be straight. When you order from Modern House Numbers, our design team will create a paper drilling template just for you, specific to your set of numbers. The drilling template ensures the numbers are straight and level, with the perfect spacing in between each digit. This template is also handy for getting a preview of how the numbers will look in your chosen installation area before you begin.

When you're ready, tape up the drilling template and use a level to confirm that it's straight. Make any necessary adjustments, secure the template with painter's tape to prevent movement during drilling, and you're ready to drill your holes.
Drilling a pilot hole is helpful to see how the drill and bit work with the material, before you drill too deep.
If you purchase numbers elsewhere, you'll have to do all the layout and spacing yourself, before you begin to drill. In this case, the old adage 'Measure twice, cut (or drill) once' comes to mind. You don't want to drill any holes until you've figured out the spacing and double checked the placement each number. Use a pencil and painter's tape to mark the location of the numbers on the wall. Make sure the numbers are evenly spaced. Measure and mark the drill holes for the house numbers using the measuring tape. Mark the placement of each hole on the painter's tape. This preparation step allows you to correct any mistakes and ensure the spacing is correct before drilling the real thing.
4. Follow the Proper Safety Procedures
This is not a race. Safety should always be a top priority when drilling into brick or mortar. Wear protective gear such as safety glasses, ear protection, and gloves. Confirm make your clothing is not loose or dangling.
5. Drill the Holes
Once you've ensured a safe environment for drilling, attach the appropriate drill bit to the hammer drill. Double check you're happy with the location, and that the template is level. Confirm the number size on the template matches the products you've ordered.

Paper drilling template for a worry-free installation
Match up the numbers to the drilling template before you begin.
Drill the holes at a slow speed, using light pressure. Stop drilling when you reach the desired depth. You can confirm the depth by subtracting the thickness of the numbers from the anchor length. Once complete, remove the paper drilling template and tape.
6. Insert the Anchors
With concealed hardware, you want to first secure the studs with the appropriate adhesive into the pre-drilled holes in the back of the numbers. Set your numbers face down on a soft cloth to prevent unwanted scratching, apply a thin layer of adhesive, and insert one stud into each hole, one number at a time.
With letter 'O" or the number '0', be sure to rotate them correctly to match the direction of the grain on your other digits.
As you insert the anchor, you find it's a little tough to push in completely, you can tap the studs gently with a rubber mallet. At this point, the should be hardware firmly anchored into the back of every digit. You can now slide the spacers onto each stud.

For other kinds of anchors or hardware, you'll want to check the instructions for any suggestions and steps for a proper installation here.
7. Install the House Numbers
Once your studs are secure in the back of the numbers and spacers are in place, you're ready to install your numbers. Install one number at a time. Apply a thin layer of adhesive to the exposed end of each stud, and insert the studs into the predrilled holes in the wall.

Repeat this step for each additional number. It's important if you have more than one number to install to only apply adhesive to one number at a time. If you don't you may find the epoxy has dried before you have a chance to install all the numbers.
With any installation, take extra care not to scratch the face of your numbers.
For exposed hardware, you'll find it necessary to install the anchors into the wall, then slide the numbers on, or use a screwdriver to complete the installation. You can use a soft cloth and very gently tap the face of the numbers to better secure them.
8. Clean Up
Clean up any debris from drilling. Properly secure or dispose of the adhesive.
Additional tips for installing address numbers into brick or stone:
- Don't Drill Too Deep: Once you make a pilot hole for level drilling, use a bigger bit to perform the next step. Extract the bit from the hole periodically to remove debris and to make sure the bit doesn't get stuck. Steady and slow drilling will reduce stress on the bit and tool while lessening the number of pullouts. Patience is vital when creating deep holes because mistakes become more prominent and more expensive as the length and width of a hole increase.
- Use The Correct Adhesive: An exterior-grade, clear drying epoxy is best. Use an amount that provides a secure attachment and fills the holes to prevent any water infiltration.
- Drill Pilot Holes: Creating pilot holes can make it easier to insert a larger bit and increase accuracy for a straight drill. Once the pilot hole is in place, you won't have to apply as much pressure, reducing the chances of a slipped drill bit.
- Use a Center Punch: A center punch creates an indentation to give yourself a target to start drilling. This can help with accuracy and prevent the drill from slipping.
Following these tips, you can easily drill into brick or stone to install your Modern House Numbers, and give your home a personalized touch. Always remember to prioritize safety and take your time to ensure a job well done. Using the proper tools and taking the extra steps will be worth it once you see the finished product.
If you'd like to learn more about how to install your new numbers, letter or plaque, watch our step-by-step installation video on our You Tube channel.