You’ve picked your favorite style, your order has arrived, and now it’s time to bring it all together. Whether you’re going for a clean, flush mount or a bold, floating effect, this step-by-step guide will walk you through your installation with clarity and confidence, no stress or second-guessing.
Let’s get started!

What’s in the Box?

When your order arrives, here’s what you’ll find inside:
-
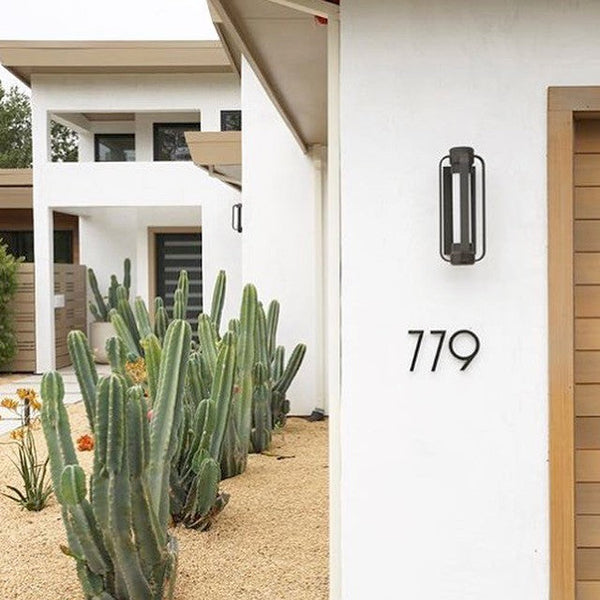
⅜” Solid Aluminum Numbers or Letters: Custom-made just for you.
-
Concealed Mounting Hardware: Includes 2-inch steel studs and ½” aluminum spacers for a flush or floating effect.
-
- Design Tip: Concealed hardware creates a seamless, modern look with no visible screws or brackets, giving your installation a clean, professional finish.
-
-
Custom Drilling Template: Available in horizontal, vertical, or both orientations to ensure perfectly aligned, professional-looking installation every time.
-
Easy-to-Follow Installation Instructions: Clear, step-by-step guidance to make your installation smooth and stress-free.
Get Set Before You Install: A Handy Checklist

Before you begin, gather the following supplies:

Pro Tips
-
Tip 1: For hard surfaces like concrete, stone, or masonry, use a hammer drill with a 3/16” specialty bit.
-
Tip 2: Installing on wood slats, fences, or gates? You might need shorter studs, which are available at any hardware store.
Let’s Get Ready to Install
Follow these steps to install your numbers or letters using the included custom template and hardware:
1. Position Your Template
Tape the custom drilling template in your desired location using masking tape. Use a level to ensure it's straight- this step is crucial!

-
What you’ll love: Your custom template takes the guesswork out of installation, ensuring perfect alignment whether mounted horizontally or vertically, for a polished, professional finish.
2. Drill Your Holes
Drill holes exactly where indicated on the template. Match your drill bit to the type of installation surface you have:

-
Wood, stucco, vinyl, or soft siding? Use an 11/64” drill bit.
-
Masonry or stone? Use a 3/16” masonry bit and a hammer drill.
4. Apply Epoxy
Apply clear, quick-drying exterior epoxy to one end of each stud. Gently push the studs into the pre-drilled holes on the back of your number or letter.

-
If the fit is snug and you need to tap them in, place your number or letter on a soft cloth to avoid damaging or scratching the surface.
-
Take a moment to ensure the studs are fully inserted and straight. This step sets the foundation for a smooth, secure installation.
5. Choose Your Mounting Style: Floating or Flush
Before the epoxy sets, decide how you want your numbers or letters to sit against the wall.
- For a floating effect (modern and dimensional), slide the included ½” spacers onto each stud. Ensure they rest snugly against the back of the number or letter while the epoxy is still tacky.

-
For a flush mount (tight to the surface), skip the spacers and proceed without them.

Take a moment to double-check your alignment and placement, this will determine the final look of your installation.
5. Fit First
Before applying epoxy to the end of the exposed stud, insert the studs into the holes to test the fit of the numbers or letters.This dry run helps prevent mistakes before the adhesive sets.

6. Mount Carefully
After confirming the fit, apply epoxy to the studs and gently press the numbers into the drilled holes. Place a soft cloth over the face of each number or letter, then lightly tap with a rubber mallet to secure them fully.

-
Important: Never hit the aluminum directly, this can cause dents or scratches.
-
Tip: Make sure the studs are fully inserted into both the back of your numbers or letters and the installation surface, with spacers seated flush against the wall. Exposed studs may rust over time.
-
Extra Protection: Worried about moisture? Apply a clear protective coating to the studs before installation for added durability.
7. Clean Up
Wipe off any excess epoxy with a paper towel and step back to admire your handiwork.

Final Thoughts
With great design, durable materials, a custom drilling template and hardware ready to go, installing your Modern House Numbers or letters is easier than you think. Just follow our simple steps, grab a few basic tools, and you’ll have a beautiful, professional looking installation that will last you for years.
Need Additional Visual Help?
Check out our easy-to-follow installation instructions or our installation video for a step-by-step demonstration!
Have questions or run into a tricky install situation? Contact our support team, we’re happy to help!
Ready to start? Grab your drill and let’s get installing!